Understanding Your Camera: A lesson in aperture, depth of field,
exposure and shutter speed.
Your photography will change for the better as soon as you
can get away from the “automatic” modes on your camera. Hopefully with this
tutorial you will be able to better understand how your camera thinks and how
you can use it to create the images you've always wanted.
Specifically I want to teach you how to use the “Av” mode on
your camera. This stands for aperture priority, which means that you change the
aperture and the camera does the rest of the work for you. This lesson comes
with pictures, but first we have to go over a few simplified definitions.
Exposure: amount of light allowed to fall on the camera’s
sensor during a photograph
-Decreasing
the exposure makes pictures darker and increasing exposure makes them brighter
Aperture: the hole or opening through which light travels
(displayed as a “f” followed by a number)
-A large aperture (big hole) is
denoted by a small “f” number. A small aperture (small hole) is denoted by
large “f” number. For example f1.4 is a large aperture and f16 is a small
aperture
Shutter speed: amount of time the camera’s sensor sees the
light (displayed seconds)
Depth of field (shallow): only what you choose to focus on will
be in sharp focus
Depth of field (deep): all objects in the photograph are in
sharp focus
Here is a representation of the different apertures.
Remember that these are located within your lens, not the camera itself, and
not all lenses have really large apertures. Your lens will have largest
aperture capable printed on it somewhere.
Okay, so why would we want to change the aperture and
what happens when you do? Well it’s time to combine a few of those definitions,
so if you get lost just refer back to the top.
Every time you take a picture your camera thinks about how it can make the image at the exposure that you set. In most instances your exposure is set to “0”
as shown below.
So with each picture
your camera is gathering the amount of light required to make a “0” image for
you. So how does aperture and shutter speed come into play?
Think of it like this… you have a milkshake that you need to
drink and you have the choice of two straws. One of the straws is really fat
(f1.4) and the other is really skinny (f16). Now with both straws you will be
able to drink all of your delicious milkshake, but you will be able to do it a
lot faster if you choose the fat straw over the skinny one.
Photographs work the same way. Choosing a large aperture
(f1.4) means that the camera will give you a really fast shutter speed and
choosing a small aperture means that the shutter speed will have to be slower
in order to “drink” the same amount of light. Here are some pictures to show
what I mean.
In these pictures I was focused on the mug and was in “Av” mode; don't pay attention to the ISO setting (that is for another day) .
I was only in control of the aperture and the camera chose the shutter speed
for me. The top picture was taken with the largest aperture (f1.4), so the
camera set the shutter speed to 0.02 seconds. As you can see when I decreased
the aperture to f4, f8 then f16 the camera had to slow down the shutter speed
each time in order to drink up all the light that I wanted it to.
From these series of images we can also learn about depth of
field. As the aperture went from large (f1.4) to small (f16) the depth of field got deeper.
In the first image with the aperture set to f1.4, only the mug and the other
things at the same distance from the camera were in focus. As I moved the
aperture to f4 you can start to see that the pumpkin in the background is
getting a little sharper, but the backdrop is still out of focus. At f8 the
backdrop gets a little sharper and by f16 the objects at all distances from the
camera are in sharp focus.
But what happens if you change the exposure away from the “0”?
By moving it to the left (towards the negative numbers) you are saying to your
camera that you want the picture to be darker and by moving it to the right
(towards the positive numbers) you are saying you want your pictures brighter.
Take a look below… the left hand column is set to an exposure of (-1) the
middle at (0) and the right hand column is set to (+1).

As you go down each column the aperture is getting smaller,
so just like in the first example the shutter speed is slowing down. Yet you
can also see that each row has the same aperture, but the shutter speed is
getting slower as you move to the right. Why is this happening if my “straw
size” isn’t changing? Well by setting the exposure to “-1” you are only getting
a small milkshake, at “0” you get a medium, and at “+1” you get a large. So yes
you have the same size straw for each milkshake, but you can finish a small
milkshake a lot faster than you can finish a large.
That’s all nice and fancy, but how is all that info practical
when I go out and start taking pictures?
- Is your background ugly or boring? If yes, then
make your aperture larger so that your background is not in focus.
- Getting blurry pictures because your shutter
speed is too slow? Make your aperture larger so that you can drink up that
light faster and your pictures won’t be blurry.
- Taking a group picture and the people in the
back aren't in focus? Decrease your aperture so that more will be in focus.
I hope that you were able to learn some camera basics from
this tutorial! There is a lot more to learn, but everyone has to start
somewhere! If you can grasp the concepts above, then you are well on your way
to mastering your camera!
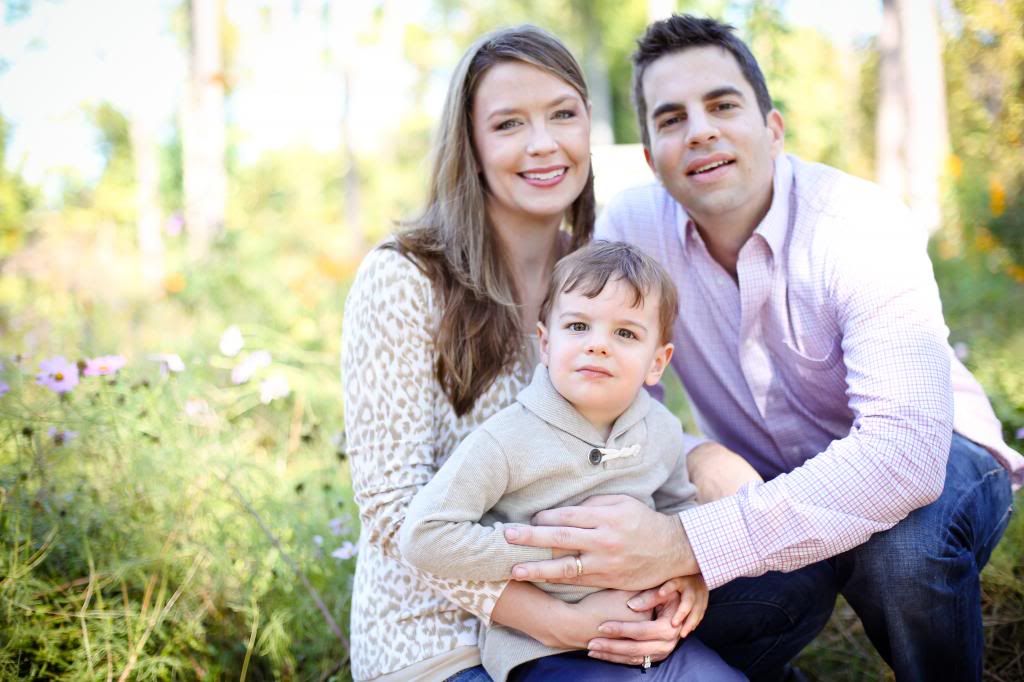
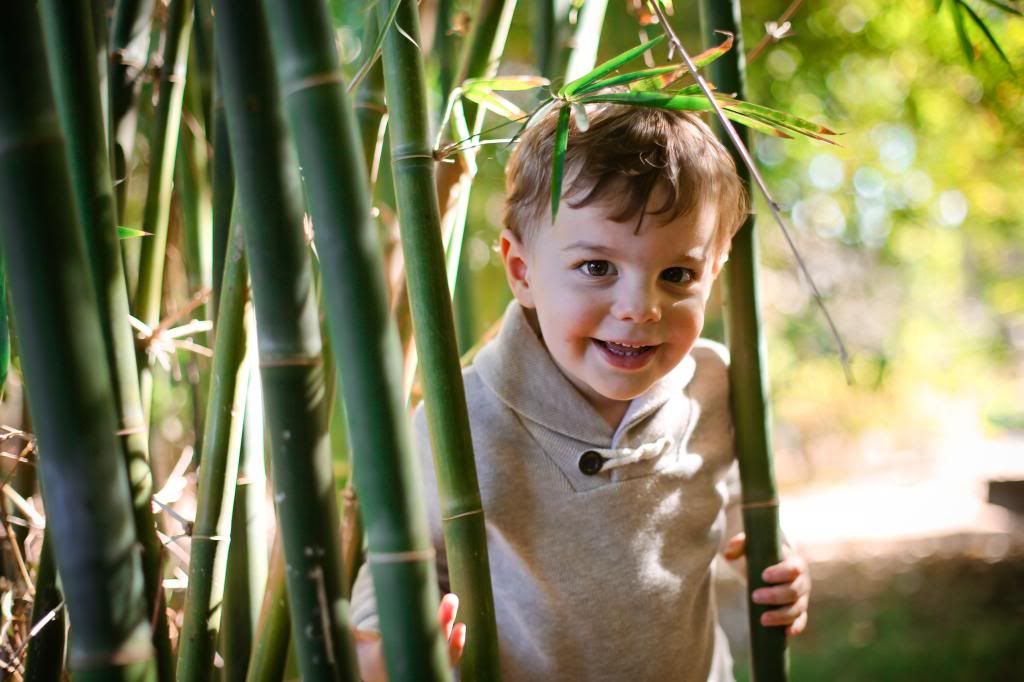
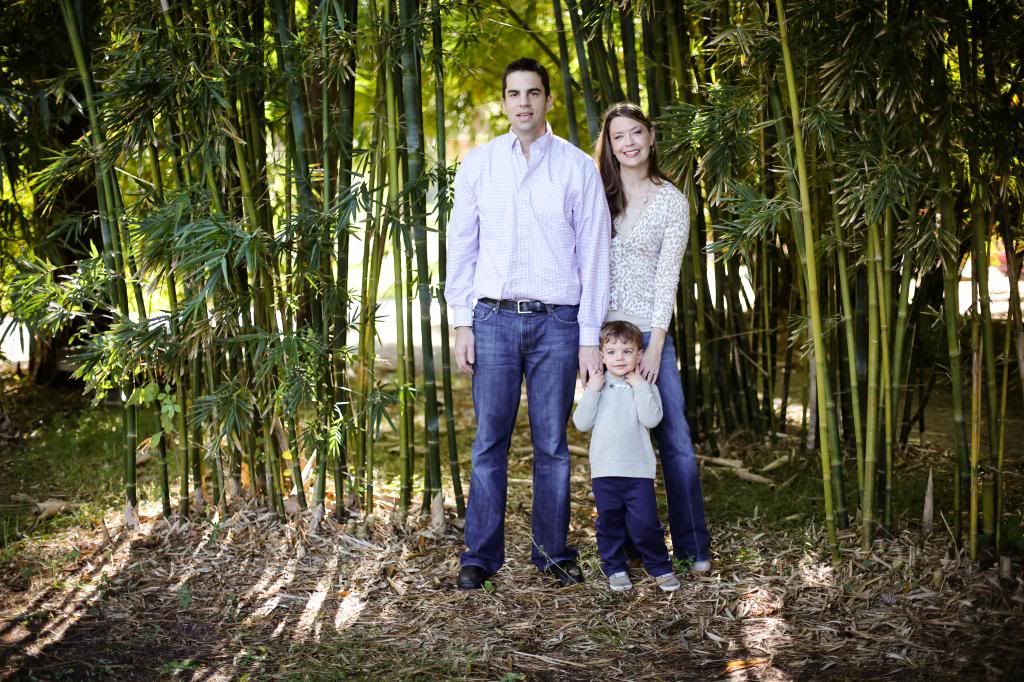
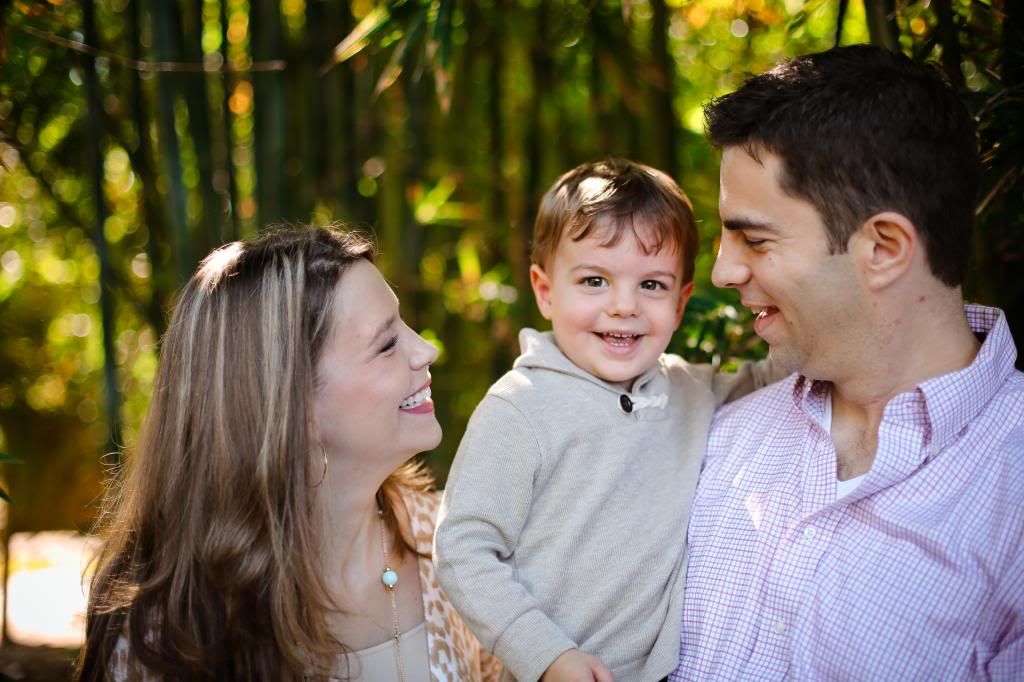
All images above were unedited and taken with a 5D Mark III
with a Canon 50mm f1.4 lens.